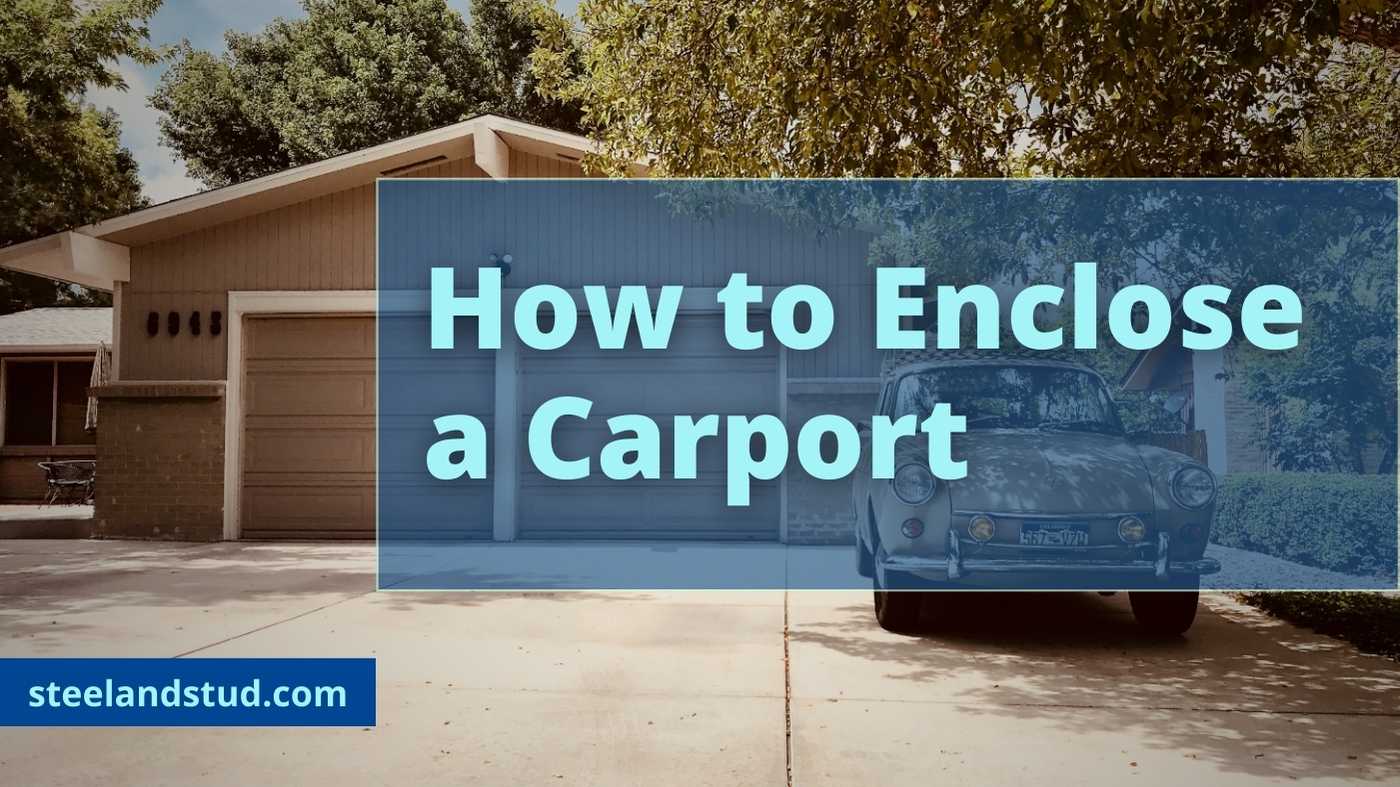
What if you bought a home without a garage or need an additional garage? Building one out of brick and mortar is expensive, and you can’t shift it either. The solution? Enclose a carport! But, enclosing one will require in-depth research and planning on your part. We also recommend involving a professional contractor if possible. But, whatever you choose, DIY or professional help, this blog will aid your research by discussing how to enclose a carport?
Moreover, enclosing a carport can increase your house area if done right. And if built with proper ducting, wall sockets, and permits, it will increase your home value considerably.
A carport is an extremely useful multipurpose structure. It can serve as a garage for your vehicles and shelter for outdoor parties. And being low-cost, you can build it with reasonably low investment and hassles.
Now that we know how beneficial having a carport could be, let’s see the materials needed for building a metal garage. The list isn’t long, and as long as you have all the tools, equipment, and materials in place, you can even attempt a DIY!
But if the process seems a bit too challenging, consider opting for professional help to enhance the quality. After all, who wouldn’t want a job this important done to perfection?
Table of Contents
Things You Will Need To Enclose A Carport
Tools And Equipment You Might Need
Visit your nearby store for the following equipment and tools:
| Drill Machine | Flooring |
| Shovel | Light Fixtures |
| Paint Rollers | Paint |
| 2×4 Boards | Bolts |
| Long Screws | Drywall |
| Studs | Plywood |
| Electric Wires | Doors And Windows |
| Stucco/ Siding | Insulation |
Enclosing A Carport - Complete Process
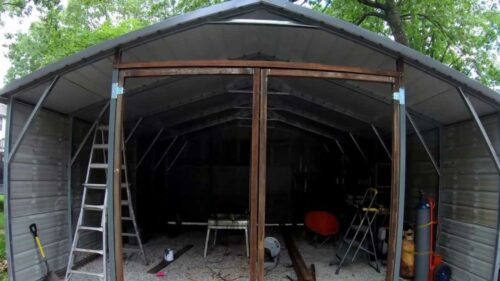
Step 1 - Site Preparation Before Enclosing The Garage
- Begin by cleaning the floor of the carport. The location should be free of dirt, debris, and vegetation.
- If there is no existing concrete slab on the location, start by pouring one. A slab is crucial as it will support the entire room.
- Use 2×4 wooden boards and place rebar in a grid into them. Measure the size of the carport and cover this area with these rebarred wooden boards.
- The concrete should be poured into proper form. And make sure the wooden boards can hold the concrete until it settles and dries.
- Measure and ensure that the concrete slab aligns with the existing home floor. Laying the slab is somewhat technical and laborious. Thus, you can also sign up a contractor for the same.
Step 2 - Build Partial Walls Using Boards, Wall Studs, And Garage Door
- Measure the size of the garage and begin building the partial wall frames.
- Start by building the wall using 2×4 boards and wall studs placed 16 inches apart.
- Place this board flat against the ground and frame verticals into it. Now attach the next board above these verticals.
- When the required height is achieved, straighten the frame up for easy installation.
- Make a series of such frames for long walls.
- Lastly, make frame openings for installing garage door and windows.
Step 3 - Fixing The Frames
- Secure the frames to the concrete flooring using bolts.
- Attach the existing roof to the new walls using long screws.
Step 3 - Applying Plywood And Wall Covering
- It is time to cover the walls with plywood to cover the frames.
- Once done, many wall covering is available, like siding and stucco.
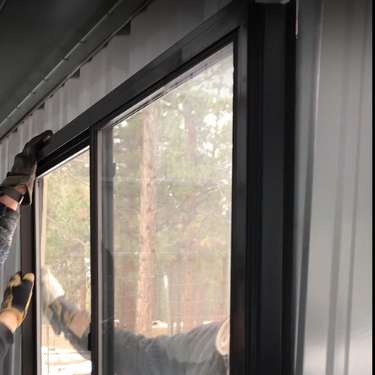
- This is also your cue to install doors and windows to the frame openings you left initially. With attaching the garage door, the skeleton of the new room is almost done.
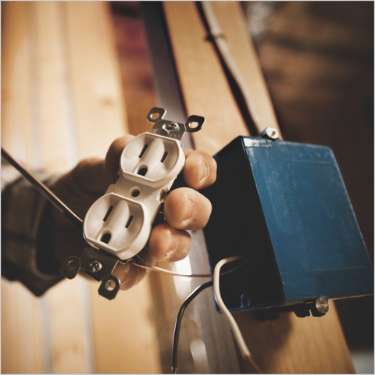
Step 4 - Time For Insulation And Electric Work
- Some states authorize you to do your electric work by yourself. But it would be best if you were utterly sure about your abilities before undertaking this feat.
- But if you do not have enough hands-on experience, you can get help from an electrician for your new room. And even if you do the electrics by yourself, you need an electrician to sign it off.
- For the insulation, you can install insulation between studs. Insulation makes it cheaper for you to heat or cool the space.
Step 5 - Adding The Finishing Touches
Now that your additional room is almost ready, it’s time to finish.
- Add drywall to the inside of your walls.
- Add your chosen floor covering- tiles, carpet, or wood.
- Prime and paint the drywall, and you are all set to place your furniture and fixtures.
Benefits of Enclosing A Carport
Some of the significant benefits of enclosing the carport are as follows:
- Enhanced Security: Protects vehicles and stored items from theft or vandalism.
- Weather Protection: Shields cars and other belongings from rain, snow, sun, and wind.
- Increased Property Value: Adds usable square footage and can enhance a home’s resale value.
- Versatility: Provides potential for a new living space, workshop, or storage area.
- Improved Aesthetics: Transforms an open space into a more visually appealing structure that complements the home.
- Insulation: Enclosed spaces can be insulated, offering better temperature control. For expert guidance, check out How to insulate an existing metal building.
- Reduced Maintenance: Protects vehicles from debris, reducing the frequency of cleaning.
- Pest Control: Enclosed areas can deter pests and rodents from taking shelter.
- Privacy: Offers privacy from neighbors and passersby.
Safety Tips while Enclosing a Carport
Some of the prominent tips to follow to enclose the carport safely are as follows:
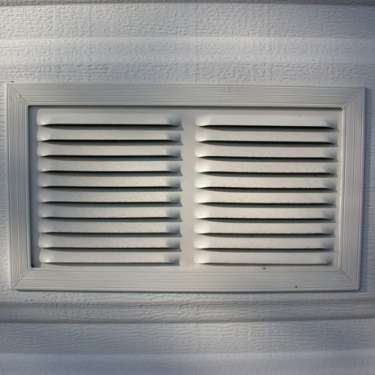
Ventilation: When enclosing the carport, it is advisable to provide proper ventilation, or it can lead to mold and mildew growth. Therefore, you can install small fans and vents throughout the carport. For more information, you can check out this guide – Metal Building Ventilation
Electrical Safety and Coding: Hiring professional electricians to do the electrical wiring around an enclosed carport is advisable. Moreover, it is essential to ensure that none of the electrical points are located close to any water points, for it can increase the risk of water electrocution. Thus, after the metal carport installation, it is advisable to enclose it with proper electrical safety.
Seal the Edges and Corners: It is essential to constantly seal the edges and corners to prevent the risk of pests and rodents. Caulking and weatherstripping can be important in sealing the edges and corners, preventing rats and mice from squeaking in.
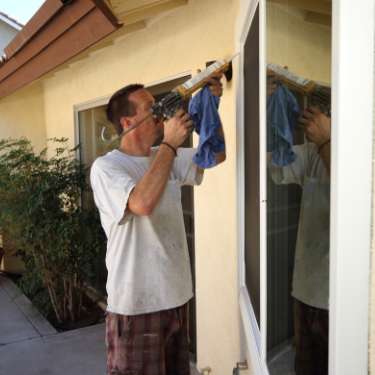
Door and Window Installation: Proper safety must be followed for windows and door installation. If you are working with professionals, you must communicate in terms of what your requirements are. You must discuss the finishes and style of the door and window you want.
Hiring a Professional vs DIY for Enclosing Carport
Enclosing a carport is always a challenging job. Therefore, it is often advisable to hire a garage-building pro or professional who is an expert in this field. Rather than doing it yourself, when you hire a professional, it becomes significantly easier to install the carport. Furthermore, it will be essential to get the job done faster. Moreover, when a professional does it, you can be assured that it is installed safely.
When you DIY enclose the carport, you get the option to save money, but you also need to invest a lot of time and effort. On the other hand, enclosing a metal carport cost is expensive but you don’t have to invest effort and time. If you still want to save money, you must DIY some parts and hire professionals to do the other ones. You can save money by painting, and installing doors and windows. However, for installing electrical lines, hiring professionals like Steel and Stud is only advisable.
Conclusion
Enclosing a carport is one of the most important aspects of completing the project. It is essential to reach out to professionals who can do it at an affordable rate and ensure the highest results. Moreover, you must hire professionals like “Steel and Stud” who can help you throughout the process. At “SteelandStud”, we will assist you in the entire process of enclosing a carport. So, if you need some help, you can always contact us.
FAQs Related to Enclosing A Carport
Proper installation of doors and windows, along with insulation across all the walls, is crucial to enclose the carport efficiently.
The estimated cost of converting a carport into a garage is around $20,000-$25,000, depending on its size.
Enclosing a carport’s complexity varies based on design, local regulations, and the existing structure’s condition. If you are someone who hasn’t indulged in enclosing a carport earlier, the process can be quite challenging. Therefore, it is advisable to only hire professionals for the same.
Yes. Enclosing a carport means adding an extra layer of protection which eventually plays a vital role in increasing the value of your property.
Planning permission is only sometimes crucial for transforming the carport into a room.
If you want to enclose a carport on a constrained budget, use vinyl tarps, reuse the old billboard vinyl, use shade cloth, or make it using wooden panels.