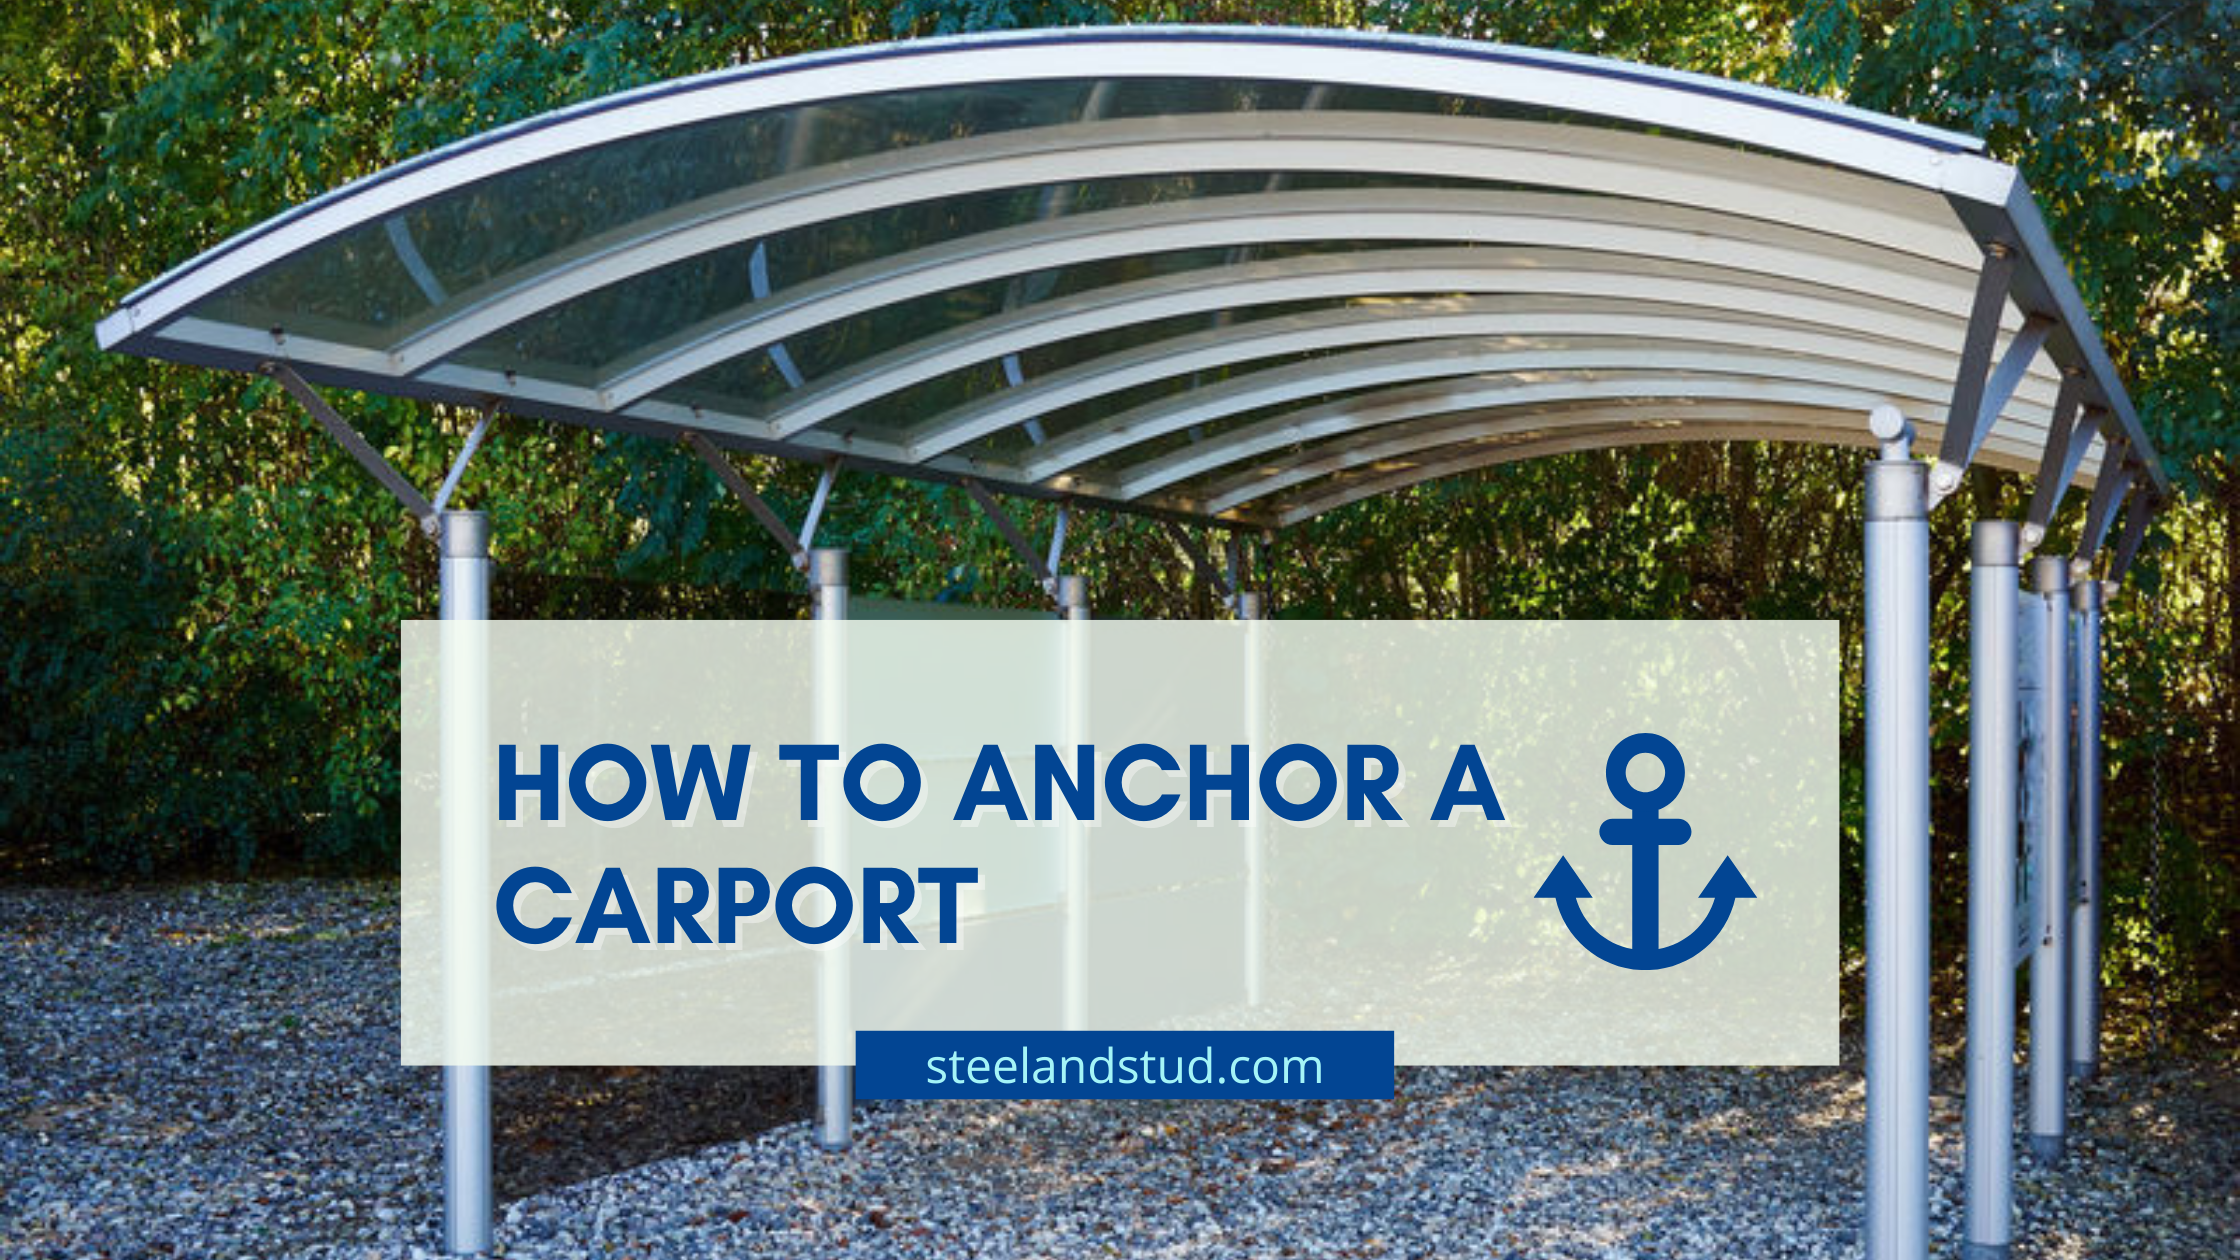
How to Anchor a Carport?
- Kunal Singh
Have you been wondering how to anchor a metal carport? The process of anchoring a carport to dirt is simple and basic. It all depends upon the anchoring parameters affected by the region influence in which the structures will be constructed.
Whether you have a certified building (the one that has been designed to withstand particular snow and wind loads) or a non-certified building (one that may be constructed in locations where certain construction codes, such as snow and wind loads, are not required), It’s critical to ensure that your metal carport is properly anchored to the ground as part of your installation so that it can withstand strong winds, snowdrifts, and severe rains, among other harsh weather condition. The makers and manufacturers of custom metal carports provide step-by-step installation instructions. Anchoring the carport is a vital part of the installation process. The carport will be protected from harmful winds by strong carport anchors.
Let us start from the basics before understanding metal carport and how to anchor a carport!
Table of Contents
Metal Carport-Protective Shelter
Carports are not as large as the usual garages we see. Still, they are designed to give some space and shelter for an automobile and to keep drivers and riders out of the rain and other weather conditions while entering or exiting one.
Carports come in different types and are identified by their construction materials far more than garages are. Carports are generally made out of a roof having one side linked to a structure such as a house and supported by pillars. Preparing the carport base before installation is a must to anchor a carport. Whether you want to build a metal structure on your property, check with your local city or county planning offices to see if you need a construction permit. The type of foundation you pick to set your steel carport or metal building on determines how much groundwork you must do to prepare your site before our experts arrive to install it.
A few Benefits Of Owning A Carport Includes
- Carports are simple to operate.
- Theft and vandalism are deterred.
- It offers a basic and attractive design
- This product is suitable for any type of car.
- Carports are a low-energy storage alternative on the ground.
- Carports provide additional space that may be used in various ways, and it comes in different types.
Tools And Materials Needed for Concrete Anchor
For concrete anchor, below are the tools & materials needed –
- Portable metal carport
- Cement, Shovel
- Concrete drill bit
- Hammer drill
- Anchor bolts with wide thread
The carport will set you back roughly $1600. It’s possible that a bag of cement will set you back approximately $40 to $50.
The average cost of a shovel is roughly $20 to $30. The cost of a nice concrete drill bit is around $30 to $40. A regular hammer drill will set you back around $70. As a result, the total cost of this treatment might be $1650 or less.
Anchoring System of A Carport –
While understanding how to anchor a carport, follow the stages given below mindfully.
Stage 1: Make a grid around the location where your carport’s foundation or poles will be.
Stage 2: Insert the concrete drill bit with direct pressure on the hammer drill. Create a center hole in the design using these two. You may dig the trenches as deep as you wish, as long as you don’t compromise the height of the carport. It is best to have a deep foundation for the carport to stand on, rather than one too short for your car to fit into or stand on. Make sure there is less dirt.
Stage 3: Assemble the cement mix. Make a shallow crater in the cement powder’s centre. The crater must be around half the pile’s length or diameter. Fill the little crater with water. The recommended formula is one part water to three parts cement. Thoroughly mix the water and cement with your shovel. You may adjust the texture of the mixture by adding additional water or cement.
Stage 4: Pour the mixture into the four holes that have been made. Every hole should be covered by approximately an inch or two. This will be the foundation for the cement mixture.
Stage 5: Pour cement into the holes where the carport’s support or poles will be installed on the surface of the ground.
Stage 6: Fill the sidewalls of the holes completely with cement. Apply a uniform layer of cement over the whole surface. Ensure that no one steps on the cement until it has hardened.
The process is done. You may now enjoy your carport once the cement has dried completely.
How To Anchor A Carport To Concrete
Stage 1: The first stage in constructing a carport on a concrete slab is to verify that the surface is smooth and level. Here we are providing a guide on How to Level ground for carport for your ease.
Stage 2: Whenever your concrete slab was just placed, you’ll want to make sure it’s entirely dry before drilling into it.
Stage 3: To identify the optimal location for placing the anchoring points, see the manufacturer’s paperwork provided with your carport type.
Stage 4: Now, you’ll need to drill holes in both the cement and the foundation rails of your carport for your concrete anchors, ensuring sure they line up. Use a masonry bit and a drill with enough power. You might also hire a handyman or a contractor to conduct the drilling for you.
Stage 5: Place additional concrete expansion material in the holes you’ve drilled and begin tightening the nuts with locking washers, making sure you have the suitable length anchors for your installation. Before you finish tightening the bolts and nut, ensure all of your anchor points are accommodate the spines and is aligned properly.
Stage 6: Attach the carport foundation or poles to the cement anchors that have been erected.
The process is done!
How to anchor a carport to gravel (Crushed Stone)
Stage 1: To begin, evaluate the surface for levelness and the presence of any foreign materials such as bigger rocks or branches. Any uneven gravel may be evened out using a rake.
Stage 2: The anchor holes in the foundation rails of your carport construction should then be located. If they haven’t already been drilled, drill each of these holes. Make sure there is no dirt.
Stage 3: You might have to use a post digger or another instrument capable of drilling a hole large enough to accept the anchors you’ll be using, based on how hard the ground surface underneath the gravel is.
Stage 4: Push each anchor into the ground surface under the carport by threading it through the matching hole in the foundation rails. You’ll need to either prop the anchors up or have a second pair of hands to assist you to keep them stable.
Stage 5: With the sledgehammer, pound the anchor into the ground surface, being sure to strike straight down on the anchor head.
Stage 6: Placing each anchor into the ground surface until it is flush with the base rails is the final step.
Stage 7: Connect the carport foundation or poles to the anchors that have been placed.
The process is done!
How To Anchor A Carport to Dirt
Stage 1: Begin by evaluating the installation location to ensure that it is level and free of any obstacles. It’s good to measure and record the measurements of the area you’ll need for the carport, as well as to leave some additional space around it.
Stage 2: If the anchor holes in the foundation rails of your carport construction are not pre-drilled, drill them out. Make several pilot holes in the ground right beneath the anchor holes in the foundation rails as well. Make sure there is no dirt.
Stage 3: An auger anchor, also known as a mobile home anchor, is the most commonly suggested form of anchor for putting a carport in mud or soil. These anchors have a large thread that allows them to be screwed into the ground.
Stage 4: Push each anchor into the ground under the carport by threading it through the matching hole in the foundation rails.
Stage 5: Drive the anchors into the ground by sliding a metal rod, the handle of a robust tool, or something similar into the eye hole of the anchor and twisting clockwise. Continue to screw each anchor into the ground until it’s flush with the base rails.
Stage 6: Connect the carport foundation or poles to the anchors that have been placed.
The process is done!
How To Anchor A Carport To Asphalt
Stage 1: Make absolutely sure the asphalt surface is level, polished, and clear of any debris or tiny bits , dirt or impediments.
Stage 2: Find the holes you’ll use along the foundation rails of your carport and drill them out if they aren’t already pre-drilled.
Stage 3: Drill your anchor holes in the asphalt using a masonry bit, aligning them with the holes in the foundation rails. You don’t want to use too much force; instead, let the drill do the work.
Stage 4: Fill the holes with grout or another bonding medium, but immediately install the anchor straight, as these materials dry quickly.
Stage 5: Thread the asphalt anchors or earth drive anchor through the base rail holes and into the previously bored underneath holes.
Stage 6: As the bonding compound dries, make sure your anchors stay upright, holding them in the location if necessary.
Stage 7: To the asphalt anchor, secure the carport foundation or poles.
The process is done!
How To Anchor A Portable Carport –
Barrels of water:
This is an old-fashioned means of fastening above-ground structures, but it will suffice in an emergency. Even a handful of barrels can provide adequate anchoring because a single water-filled barrel can provide up to 500 pounds of resistance.
Sandbags:
Sandbags are another easy and cost-effective solution for weighting and stabilizing your carport. They are not, however, suggested for long-term usage to sustain harsh weather conditions like high winds and heavy snowfall.
Precast concrete blocks:
Another alternative is to secure your carport using concrete blocks. Just keep in mind that they can weigh anything from 500 to several thousand pounds, making relocating them difficult.
How to anchor RV carport
Stage 1: Place post anchors in the concrete or dig holes for the posts and pour concrete in each hole. Make sure there is no dirt.
Stage 2: Your post holes should be evenly spaced. They’re around 8 feet apart. Make one side of the carport pillar longer and the other shorter to give the roof a tilt.
Stage 3: Connect the beams to the footing hardware using bolts. Ascertain that the beams are properly aligned.
Stage 4: Attach the rafters to the side beams. Make sure that all of the rafters are equidistant from one another.
Stage 5: Use a steel roof or fasten the plywood roof planks to the rafters
Stage 6: Caulk the plywood roof seams to make the roof watertight, and cover it with synthetic paper.
Stage 7: Metal plates should be used to attach rafters, beams, and plywood roofs to reinforce the joints. This will help to reinforce the framework even further.
The process is done!
There are several options for setting up your base, and some even enable construction on the ground using just concrete piers. The foundation of your construction is significantly influenced by your demands and the function of the structure. Your geographic location, local construction requirements, and the project’s intended function all determine how your metal building is anchored. To hold your metal construction in location, each foundation type requires specific anchors from rebar anchors, concrete anchors, auger anchors, asphalt anchors and more, all of which are carefully chosen.
Concrete Anchors: Different Styles and When to Use Them
People wish to possess and install a carport for a variety of reasons. It can be used for municipal, commercial, or residential purposes. These protect properties and people from the sun’s damaging UV radiation while also protecting them from the elements. They’ve been designed to withstand even the worst weather conditions.
Specifications and characteristics of anchors vary as well. The strength of the fastener material, the hole size (diameter), the length, and the thread size are all crucial factors to consider. Some anchors are detachable or non-permanent in terms of characteristics. Others are labelled bulk-fed and are intended for use with power equipment.
2022 Best Anchors for Metal building Anchoring System
Steel and Stud ensure only the best anchoring system for upcoming projects that require mounting metal buildings to solid concrete, a brick, or a block surface. Our technicians check the site and accordingly choose the best concrete anchors for a given application.
Rebar Anchors
The rebar anchor is a concrete steel bar with a stainless steel friction-welded threaded section. Exceptionally high tensile loads may be injected into the foundation material due to the concrete’s great load-bearing capability. It is great for mortared overlap joints, connecting reinforcements, and needlings.
Mobile Home Anchors – Auger Anchors
Mobile house anchors or Auger anchors are the first choice for anchoring prefabricated buildings on the unpaved ground. While mobile homes are frequently utilized as year-round, permanent residences, they may still be carried or moved if necessary. The ties, also known as straps, are usually made of steel and are meant to wrap around the mobile home and attach to ground anchors or earth drive anchors, or to secure the mobile home unit from beneath it and stick to the ground anchors.
Concrete Anchors
Anchor bolts or concrete wedge anchors are screw-bolt fastening techniques for attaching things to concrete. L-anchors, concrete I-bolt anchors, concrete strike anchors, sleeve bolt anchors, and floor anchors are examples of variations.
Asphalt Anchors
Asphalt anchors are a type of anchor that is meant to be used on asphalt surfaces. They’re ideal for affixing curtain barriers and walls, as well as installing road signs, stands, speed humps, bollards, fences, and other similar structures that require direct attachment to asphalt surfaces.
Metal Building or Carport Structure Delivery and Installation
Get in contact with Steel and Stud immediately if you’re seeking high-quality carports or metal buildings for your work vehicles or equipment storage. We are experts in metal building or structure with Delivery and Installation Included!
Carports are an excellent investment. They safeguard your automobile, which is the second most precious item in your home. It protects your automobile from precipitation, frost, hail, UV rays released by the sun, and much more.
Metal Building Styles Available with Steel and Stud
Steel and Stud guarantee that you will receive only the best carport for your house or company. Carports are simple to construct, but instead of dealing with the hassle, our customers receive expert carport installation regardless of where the steel carport kit is delivered.
RV Carports
An RV Carport is a tall covered metal structure that protects your Recreational Vehicle or Motorhome from severe weather. Customize and Order Your Metal RV Carport for the Lowest Deposit Online.
Steel Carports
Whether you like your automobile or simply want it to endure as long as possible, you’re undoubtedly well aware of the advantages of having it covered on the ground.
A carport is a steel cover that protects automobiles from the weather. Carports, unlike garages, have a roof but no sidewalls. Aside from making them more economical, this also means they don’t require construction permits, can be built in tighter locations, and are quick and simple to install.
Utility Carports
Utility carports are unique in that they have a tiny covered storage room on one end, allowing you to safely install your lawn tractor, outdoor maintenance equipment, or even your motorbike!
A utility metal carport combines strength, purpose, and flexibility to provide adequate weather protection for your cars.
Storage Sheds
An outdoor shed may transform the home by providing more storage space. You may lighten the weight in your house by using and installing creativity, ingenuity, and a little elbow work to make it more roomy and easier to live in.
Portable Storage Sheds
A portable, demountable, or transportable shed is one that is intended and constructed to be moved rather than fixed in the ground.
Canopies
A canopy is more than just a piece of cloth that is draped to provide shelter from the weather; it may also be decorated for outdoor festivities. A canopy is simple and easy to install, and it provides instant shade. A canopy, for example, may be used to shade your outdoor table or your favorite reclining chair.
Greenhouse kits
A prefabricated greenhouse is a kit that includes all of the essential components for installing a greenhouse. A prefabricated unit with cladding, a frame, and ventilation openings are included in the package.
And the list goes on. You may purchase any of the above or other materials from Steel and Stud without the assistance of a salesperson.
Metal Buildings Prices
Whenever it comes to metal building prices, the prices differ due to factors like material quality, door roofs, and more. You must have noticed that it varies from company to company. At Steel and Stud, we make sure to provide the most reasonable and best rates as compared to the market.
Contact us now for installing and to get an estimation of your desired customized carports.
Why Steel and Stud?
Steel and Stud have been newly established itself and aim to be the most reliable one-stop shop for metal carports, steel garages, metal sheds, and more. We aspire to be the finest and most admired supplier of economical and high-quality metal and low-maintenance structures in the United States.
We at Steel and Stud offer real-time pricing, as well as delivery and installation, and streamline the carport purchasing process, which had previously been difficult. Furthermore, if we have an offer or discount, we will apply it to your order instantly, so you won’t have to waste time looking for a code.
One of our workers will arrive shortly after your purchase to install your new bespoke metal structure. Please make sure the installation location is level, clear of waste and foliage, and that the installation team has adequate room to transport their vehicle to the site location.
Frequently Asked Questions
The depth of the footings varies depending on a number of conditions and can range from 0.75 to 1.5 meters; in rare cases, they can even go deeper in the ground.
Because concrete is less prone to break if moisture evaporates slowly, spraying it with water several times each day for the first week after pouring the project will make it considerably stronger. The fresh concrete should be sprayed more often as the weather becomes hotter and dryer.
- Follow the below steps –
A). Existing Roof Covering Must Be Removed
B). Examine the Underlayment on the Roof
C). Purchase Metal Roof Sheathing and Flashing by Measuring
D). Place the roof flashing against the house wall.
E). To support the metal roof, use wood strips.
F). Install the roof
G). Rake Flashing should be installed.
Concrete, asphalt, and gravel can be placed under a carport
Using a shovel, add 3/4 inch of crushed gravel to the carport floor to make it even with your string line.
Screw anchors can be used by screwing them into the ground next to the base rail. To connect the base rail to the anchor head, small wires are required.
It’s a good idea to put a concrete slab on your land to act as a foundation for your new carport.
For the best defense and firm hold against swinging and heavy rains, you should attach your carport to the concrete slab. Winds aren’t powerful enough to raise a concrete slab off the ground.
You can cross brace the carport’s vertical supports. Cross bracing your carport can maintain it, provide extra stability, and protect it in low winds or other weather conditions. The additional support also ensures that the structure remains stable in all weather situations. For more support and affordable option, contact Steel and Stud today.




Indoor Riding Arenas: Types, Features, Benefits, and Cost
Different Types of Metal Roofing for Commercial and Residential Buildings

What Is A Purlin? Types, Sizes, Designs, Accessories & Cost
