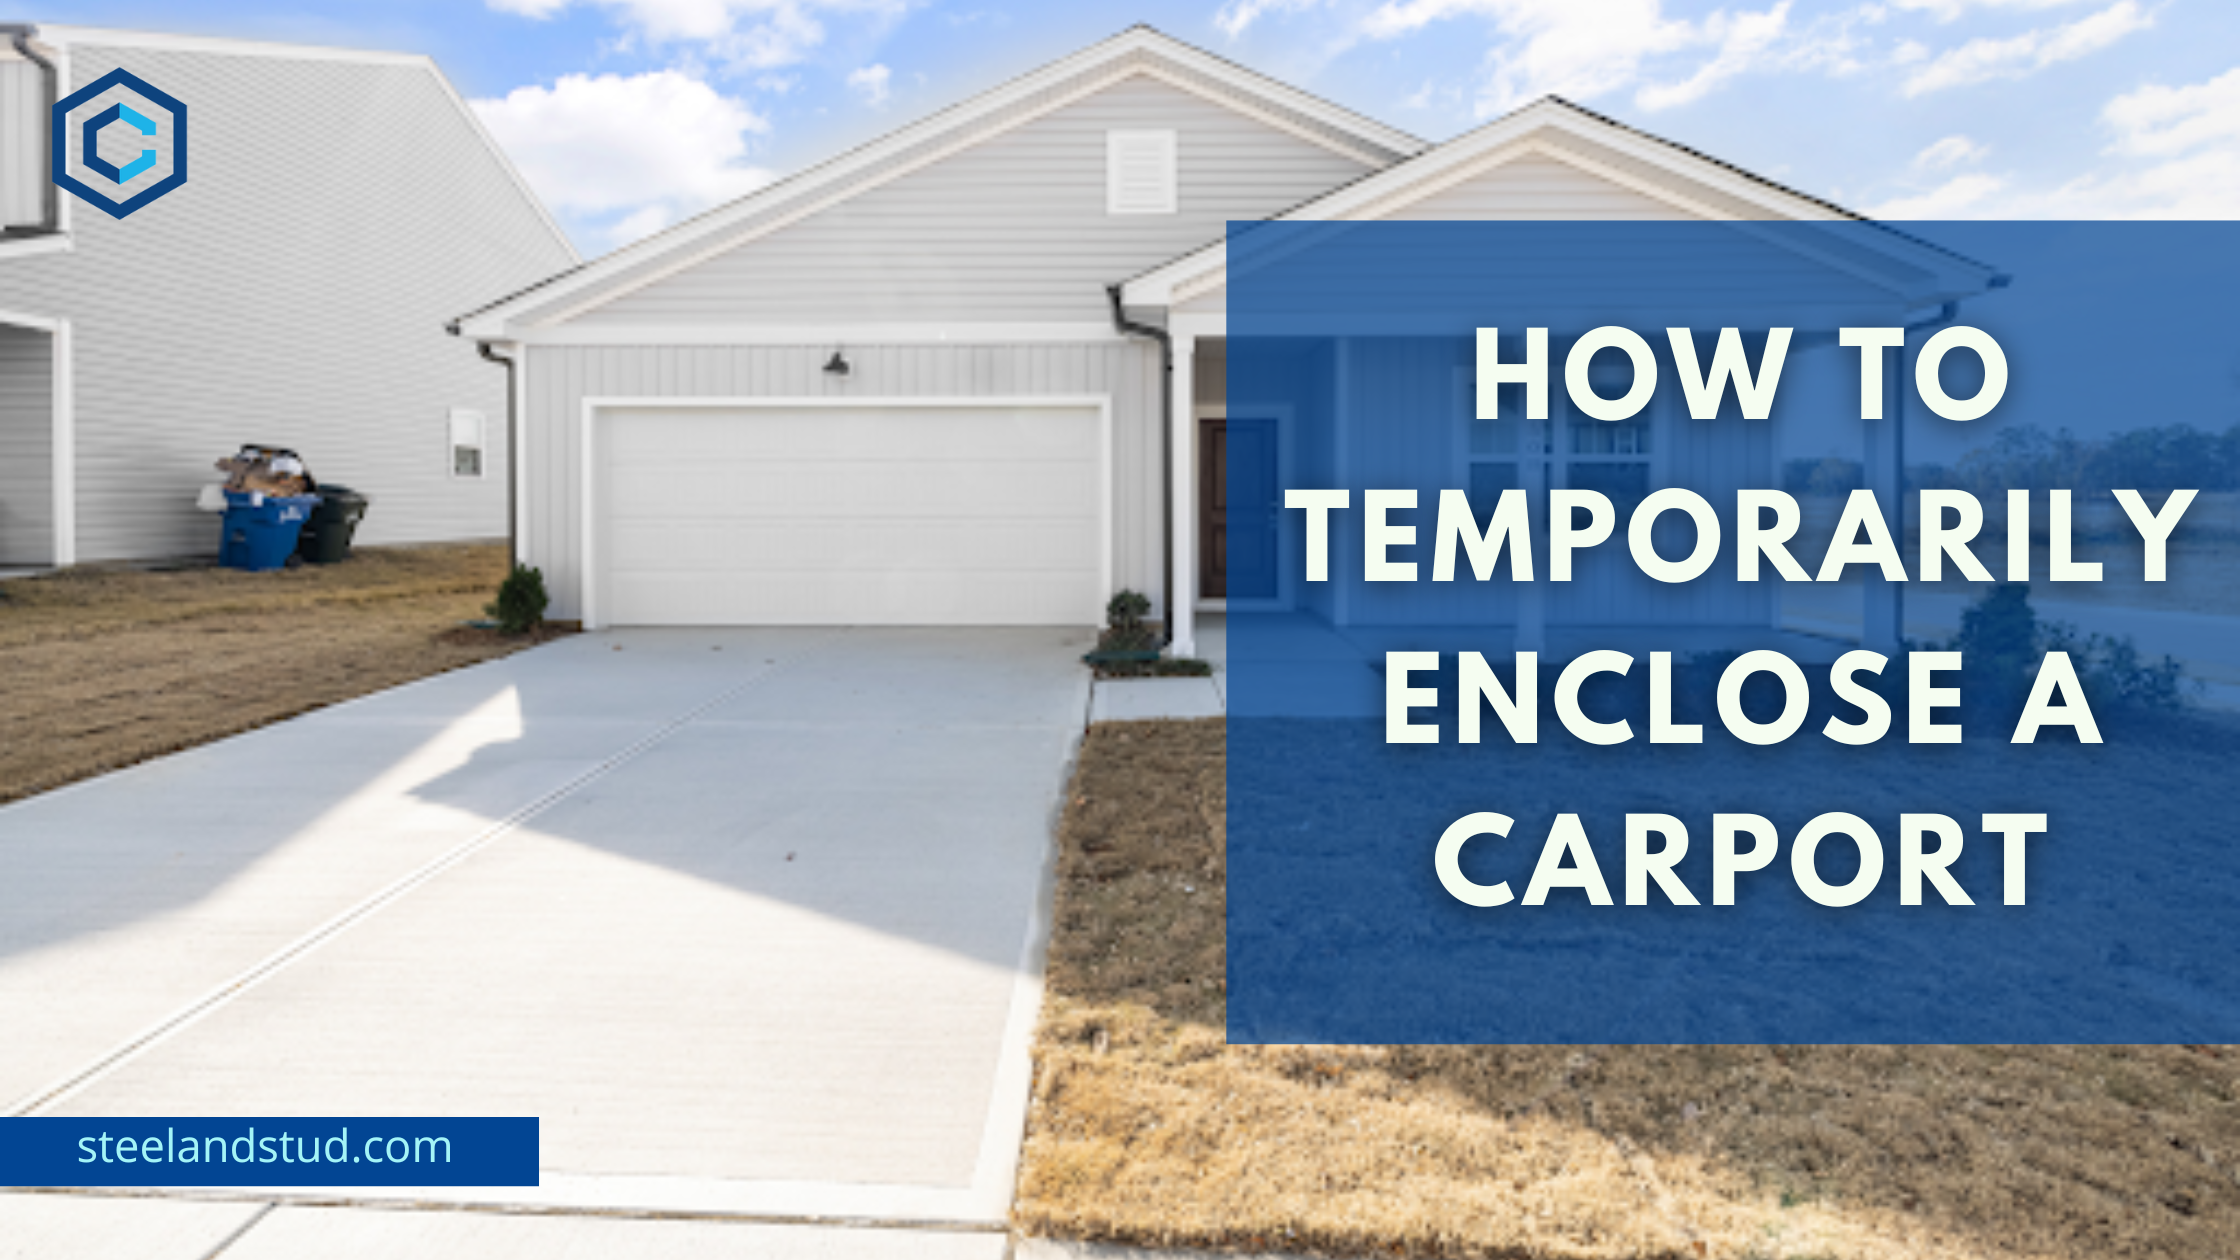
Carports are a great addition to your home. They provide shelter from the elements, add style, and function as a play area for children.
But there are times when you may need to know how to enclose a carport temporarily. Whether working on your car or enjoying a summer barbecue heat, you need an enclosed garage to keep yourself and your belongings out of harm’s way.
You don’t have to hire someone else to do this job for you. With simple tools and materials, you can easily construct a temporary enclosure for your car port in just a few minutes!
Perhaps you’re wondering how to temporarily enclose a carport; there are a few ways. You can add a permanent structure, such as an attached garage stall or shed. You can also use free-standing structures like a lean-to or shed. If you want something more temporary, you can use canvas or tarp to create an enclosure.
Table of Contents
Steps on How to Temporarily Enclose a Carport
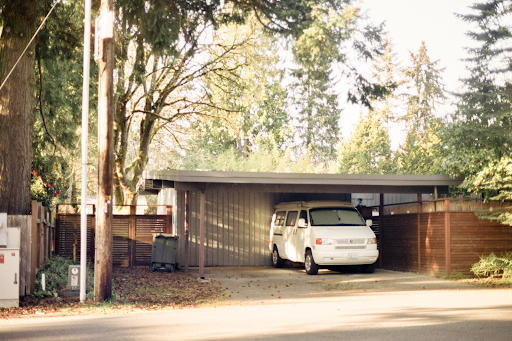
If you have an extension of metal carport and want to make it more usable, there are a few ways. You can add new walls and windows to enclose it or build a shed over it. A carport is a great way to protect your vehicle from the elements and provide additional storage or living space.
A typical carport add consists of a roof, four walls, a floor, and a garage door. The simplest type has no walls and is just a roof attached to posts. If you want to partially enclose a carport, there are several steps you need to take:
Prepare the Carport
Before you begin to build a new wall, you’ll need to prepare the new carport. Remove anything that might get in the way of construction, including garbage cans, bicycles, and other items. Also, ensure no nails are sticking out from the walls or roof that could injure someone during construction.
The location should be level, dry, and free from debris such as rocks or roots that could cause damage when you build the structure. The enclosure size depends on how many vehicles you want to protect from bad weather conditions like rain or snowfall. You have to locate a spot that has good drainage and should also be large enough for your intended structure.
Build a Temporary Wall
The next step involves building temporary walls around your carport’s perimeter to ensure no gaps between it and its surroundings. If you do not know how to build a carport, here you have it!
A temporary wall is built on one side of the carport to help support beams while you build the roof. Building a wall requires lumber posts with plywood sheets attached between them at the top and ground of the structure.
The drywall should extend from one end of the carport to another and be secured into place with a concrete block or cinderblocks along each post. Once complete, it will help prevent your structure from falling over during construction.
The wall should be about 5 feet tall and made of plywood or another material that won’t crack easily when hit with a hammer. The temporary wall should be about 3 feet from your carport’s original structure to allow room for later replacement in this project.
Temporary drywall will provide protection from the elements while still allowing you to use the carport area as needed. It is possible to use various materials for this purpose, including wood or metal studs and plywood sheets. Use whatever material works best for your needs and budget!
Fix the Frames
Next is to fix the frames of your different carports so they won’t move while you work on covering them. If they aren’t fixed, they will move around while you’re working on them, making it difficult for you to cover them properly.
Use wood screws or bolts and nails to attach a wooden frame to the top of the posts on each of the open sides of your carport. Ensure that these frames are level with each other to form an enclosed space. You will need two pieces of wood per side; one piece should be longer than the other so that it can rest against the wall at the back of your carport.
Cover the Walls
Covering the walls with plywood creates an enclosed space that can be used for storage or as a new garage for your vehicle. Measure how large you want your enclosure to be and cut out two pieces of plywood to fit each side of your carport walls vertically between two sets of each frame.

Ensure that these pieces are slightly smaller than your measurements, so there will be gaps between them when they come together at either end of your enclosure.
After covering all the walls with whatever material you choose, it’s time to get busy installing windows and a garage door! You can either buy pre-made windows or cut out some holes in your walls so light can come through as needed.
Install Insulation and Electricity
Insulate the walls of your temporary structure with rigid foam insulation boards. You need to install insulation between the roof and walls of your carport and add electrics such as lighting and sockets. It will help keep the area warm in winter and cool in summer, which is particularly important if you plan on using it as storage space year-round.
You should therefore learn how to enclose a carport for winter to achieve this. Install electric lights if possible; it will make working in your carport easier at night. If there isn’t enough room to install lighting, consider installing portable lights that run off batteries instead of wiring them into an electrical outlet.
Add Finishing Touches
When everything’s ready, add finishing touches. Some ideas include paint, a floor, and decorating to look presentable from the outside. It may seem unnecessary, but it makes all the difference when trying to sell or rent your property line later!
For a carport, the finishing touches are the most fundamental part. For example, you can add a roof vent to help with air circulation and reduce moisture buildup. You can also install awnings and shutters to increase privacy and protect the interior of your home from sun damage.
Consider installing a roll-up garage door opener to give you access to your carport when it’s raining outside. You can also attach an awning to the side of your carport to park under it and keep it dry during rainy days.
If you have a large enough budget and would like to add some style, consider adding brick or stone siding and painting it in a color that matches the exterior of your home. Once you’re through with this step, it’s a sign you’ll have a fully functional carport that can protect your car from harsh weather conditions and keep it safe!
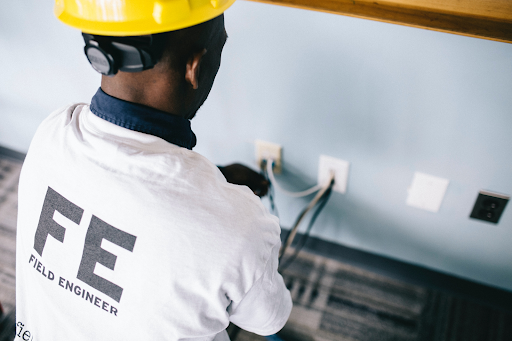
Take Professional Help for Temporarily Enclosing a Carport
If you have never installed anything on your house before, you may want to hire a professional to help with this project. A contractor can install the aluminum panels quickly and efficiently so that you don’t have to worry about doing it yourself. If you decide to do it yourself, ensure that you follow all safety precautions when using tools such as ladders and hammers.
At Steel and Stud, we will install your temporary carport on your behalf. So, if you require a contractor for professional help, we are the best at what we do. Contact us today!
FAQs Temporarily Enclosing a Carport
Most municipalities require a building permit for any temporary enclosure of a building. Check with the local building department for specific requirements and adhere to your local zoning rules.
You can easily enclose an attached carport with temporary walls and windows. It is especially true if it is designed as part of the structure of the house or building and does not have any gaps between the walls and roof. You can convert your attached carport into an enclosed porch or sunroom by adding walls, windows, or a garage door on all four sides of the structure.
The cost of a temporary enclosure depends on the size of your carport, location, and the type of enclosure you’d like. But how do you enclose a carport for cheap? The average cost for enclosing a carport is about $10,000, without including the foundation.
If you’re looking for something temporary with a foundation, you can expect to pay anywhere from $18,000 to $23,000.
Old carports can be used as storage sheds or even converted into garages or, in some rare cases, a barn. You could also use them as an outdoor space for entertaining guests or relaxing when you want some privacy from your neighbors.
The most common way to enclose a carport is by adding a curtain fabric or shade. Curtains are usually installed on rollers to be opened and closed as needed. Shades are made from vinyl and available in different colors, textures, and patterns.