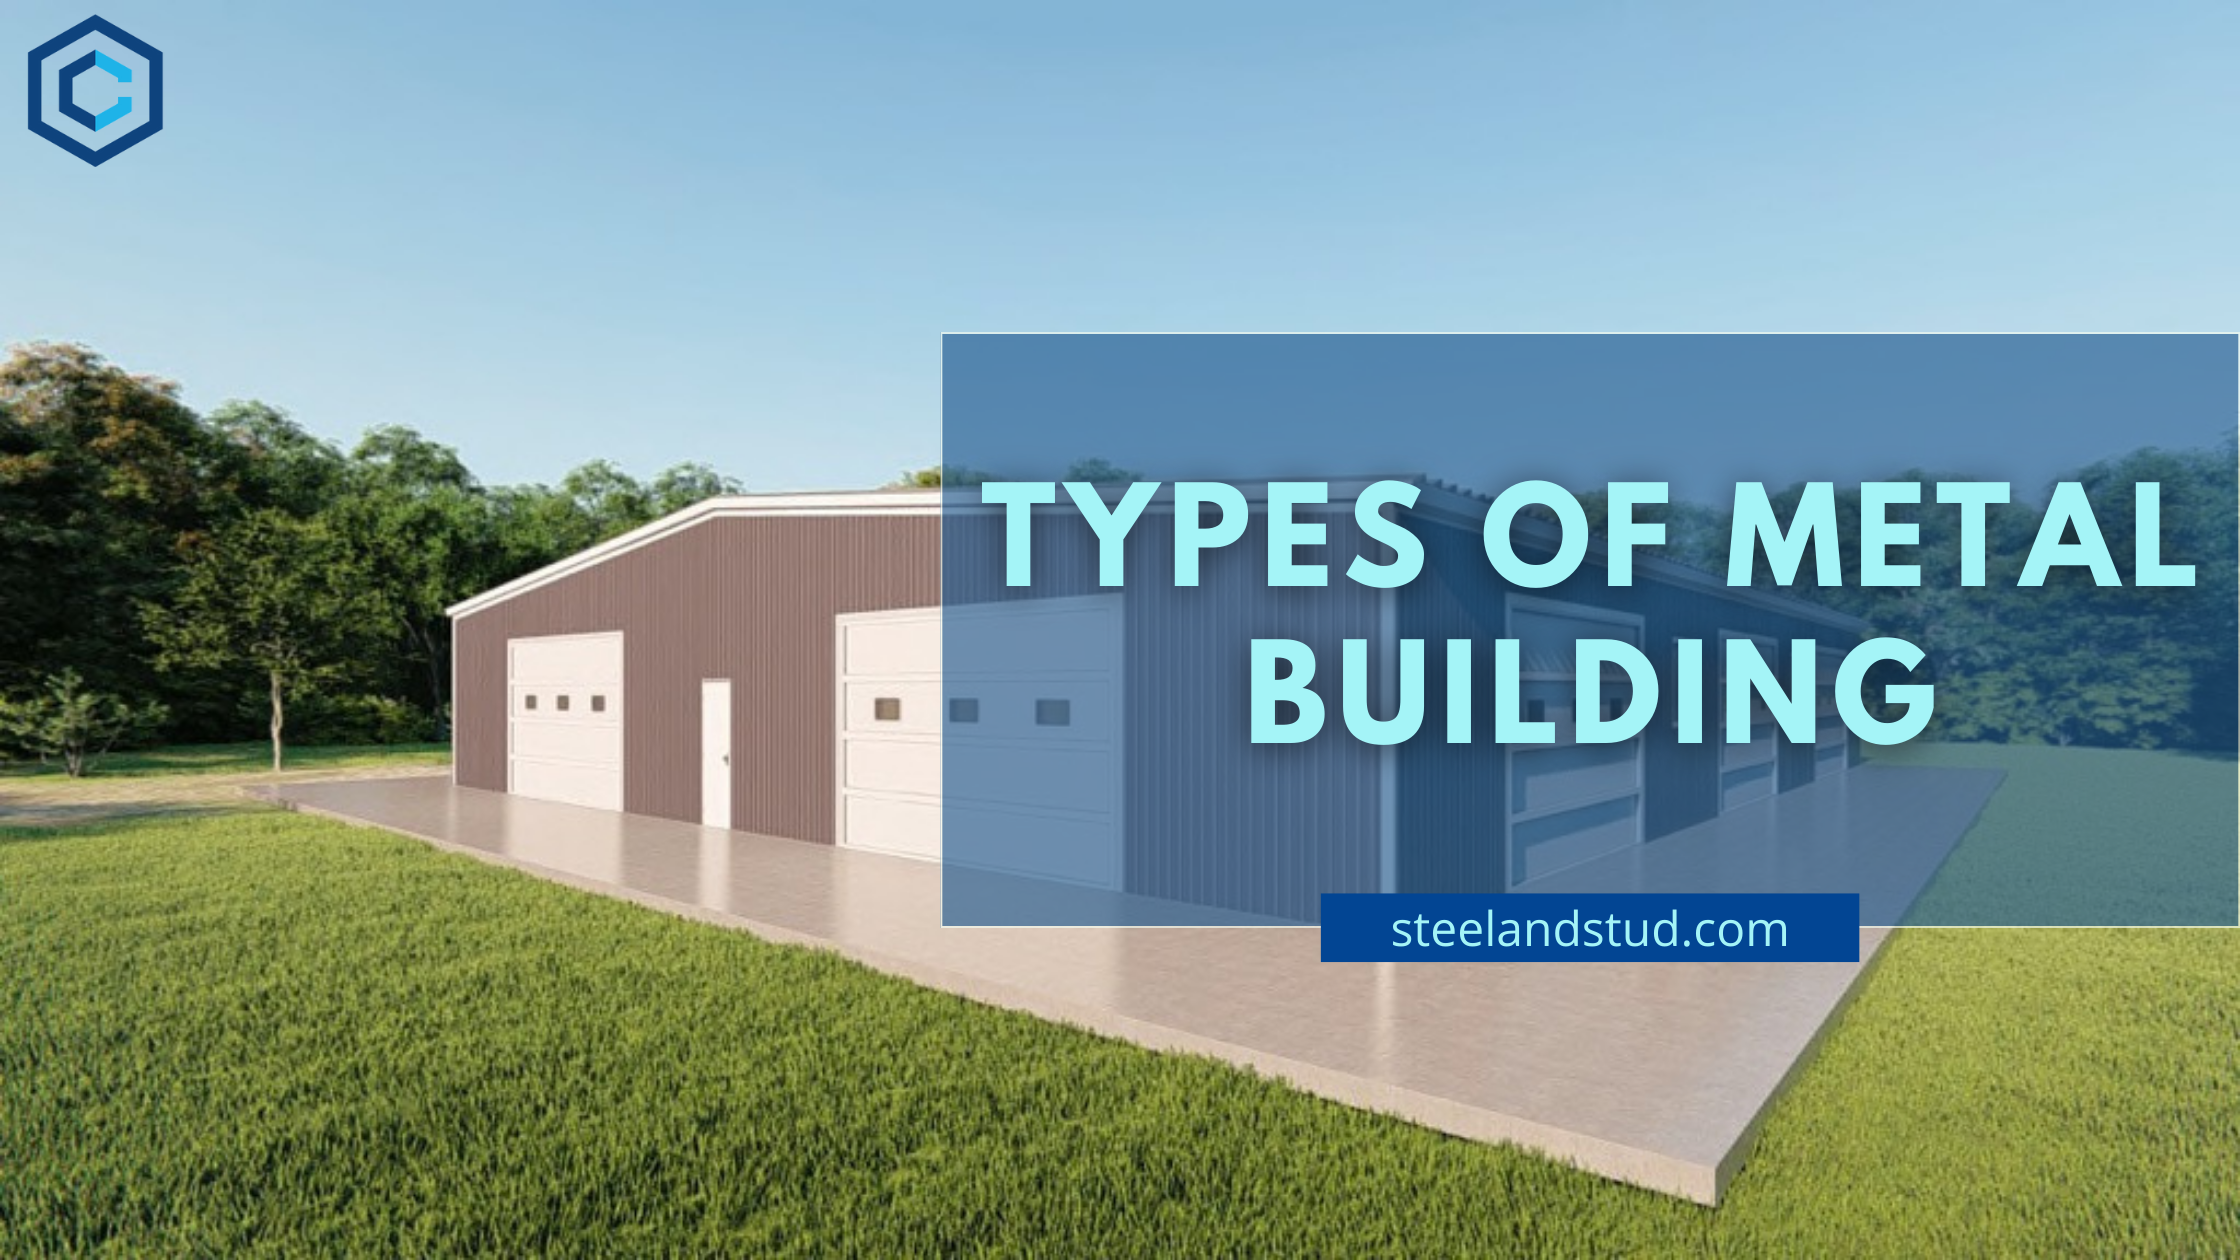
Constructing a metal or steel building for storage and shelter that can withstand harsh weather conditions is the solution to the space problems for residents residing in all the major cities of the USA. The primary uses of residential steel buildings extend to garages and workshops. If you are a DIY enthusiast and have the necessary workmanship skills, you can follow the easy step-by-step guide in the manual available in DIY metal building kits. You can save labor costs while enjoying the erection process of your dream metal building.
Metal building is built with metal frames that are easier to set up and last for a long time. The building process for a metal building is more accessible and affordable than wooden structures or traditional brick-and-mortar buildings. The popularity of installing a metal building in the backyard, front yard, or unused space is rising because of its advantages and functionality.
Steel buildings give you a sturdy and secure structure that needs minimal maintenance, saving extra bucks for you. Because they are built with the pursued metals, they are energy-efficient and eco-friendly to construct. With detailed customization, you can make a perfect match with the surroundings, ensuring your own steel building complements your property.
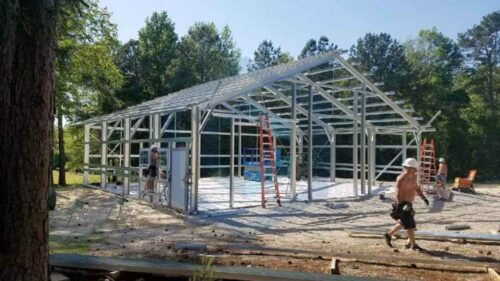
Table of Contents
Steps To Build A Metal Building
Building your own steel building is not so challenging when you buy DIY metal building kits from “Steel and Stud“. We help to choose the suitable material, and set up the foundation, and insulation to construct a sturdy metal structure that can withstand harsh weather conditions.
Here are the general steps to build a metal building with a prefab metal kit:
Prepare The Ground
Before the DIY metal building kit is delivered to you, obtain all the necessary permits and compliance with local building codes and regulations to ensure uninterrupted working on your metal building project.
If your chosen site has debris, small pebbles, or uneven vegetation, it needs cleaning and leveling the ground before setting up the foundation. The unclear or uneven ground may not let the foundation settle correctly, creating an uneven base for the metal structures.
Set The Foundation
You need to pour the concrete slab to lay the foundation. The slab should be even and adjusted according to the drainage system, and the thickness needs to meet International Residential Code. Earlier, the foundation slab for the garage was insisted to be set at 4 inches step to prevent gasoline and carbon mono oxide spills from the cars. But now, with more and more electrical cars hitting the road, the slab thickness can be similar to the entire home.
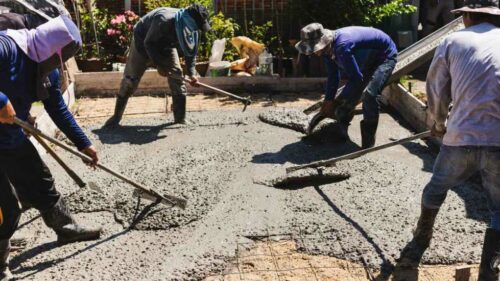
Steel and Stud recommend the choice of foundation material required when you order the steel building kit from us. We consider metal building size, load requirements, and local soil conditions to identify the best foundation for your metal structure. The different types of foundation options we can recommend are concrete slabs, curb foundations, floating slab foundations, pier foundations, portable foundations, and trench foundations. You ask a professional or prepare the foundation by yourself with provided measurements and guidelines to ensure the foundation aligns with the prefab metal kit design.
Unloading and Organizing
It takes 2-3 days to set the foundation. Meanwhile, unload the prefab metal kit, keeping all the metal components, including roof panels, safely and systematically as per their labeling for easy access during the beginning construction phase.
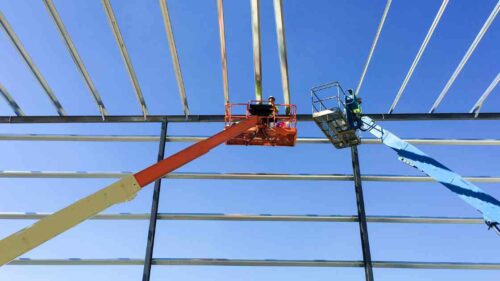
Install the legs, Rafters, Purlins, and Framed openings
You must first install the legs or pillars, creating a center frame since the whole building would rely on them. The legs have to bear the weight of wall panels and roof sheets during the construction of the metal building.
You should start laying the four columns on level from the middle bay to create the main framework. To add more power to the frame, it’s better to add the rafter frames, eave struts, purlins, and remaining wall girts.
As per the manual, you can now fasten the frame and header edge to the framed openings with pop rivets. You should not remove temporary bracing until you’ve completed sheeting the walls for a stable structure.
It is installed firmly using anchor bolts, made of superior quality. The leg structure determines how well and comfortably the structure sits and would carry the other components.
Install the Grits
The grits, also known as sheeting rails or wall frames, are horizontal structures that offer the high stability you need to hold the frame in place without getting collapsed. It also keeps the metal building stay strong and withstands any calamity.
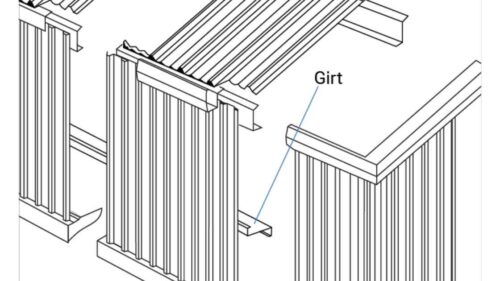
You can screw the wall panels into the main frame using a longer fastener with smaller threads. Once the wall frames are set, you can connect panels in the same sequence using a fastener called stitch screws (shorter fasteners with large threads).
However, before installing, it is good to check the building width. These will support the structure and protect it against extreme weather conditions. The grits get enough support from rods, angles, and braces.
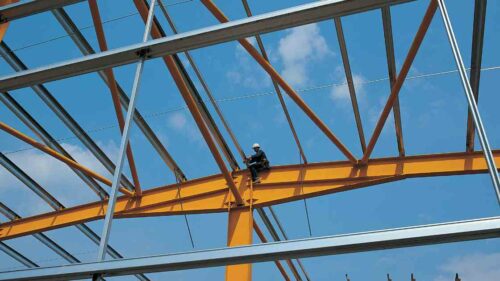
Arrange the Girders
The rafters are huge beams designed to carry the structure’s weight. It gives support to legs and grits, which are erected. The girders come in a myriad of shapes and sizes. However, the size and shape depend on your building height. It is good to arrange the beams initially on the ground to determine clearly which one must be fixed. It makes the task of workers simple.
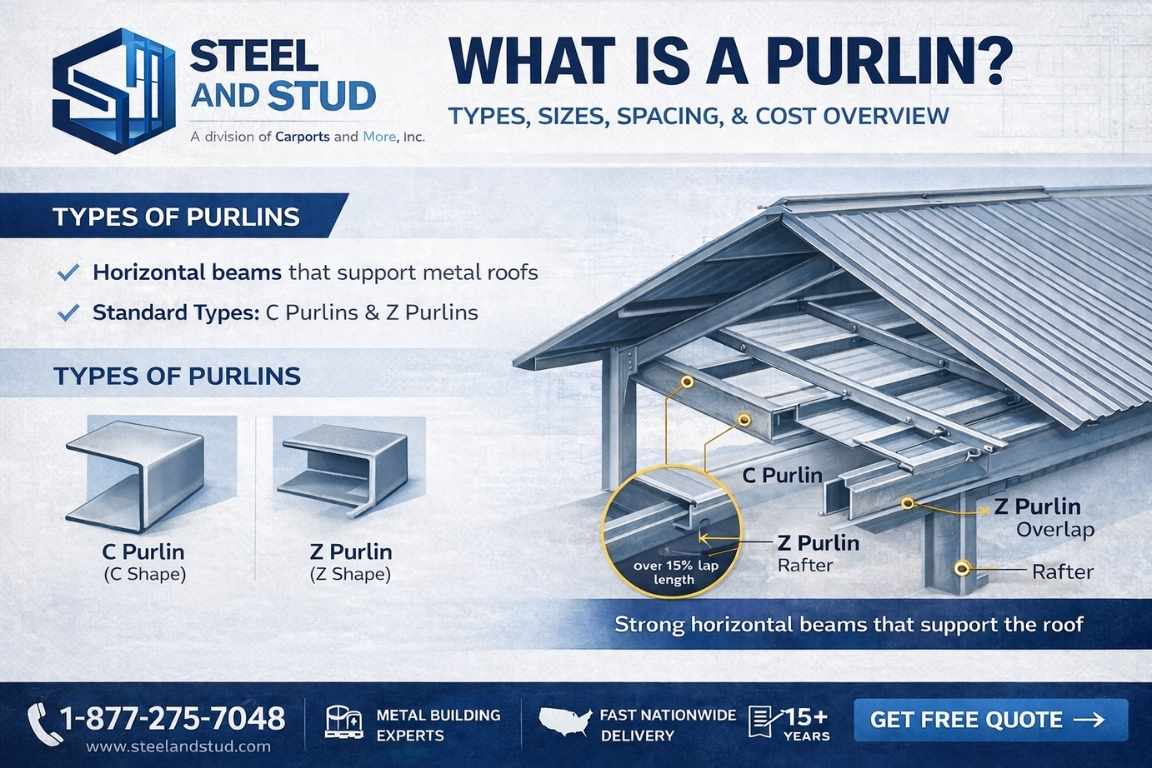
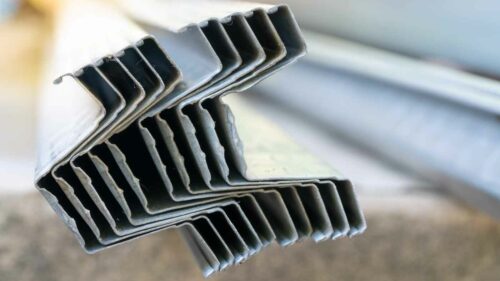
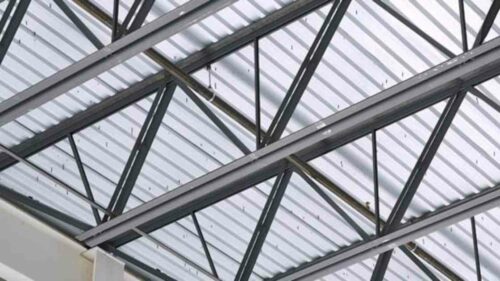
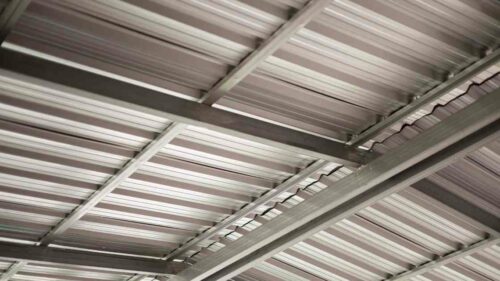
Install Purlins
Purlins are another set of materials installed carefully, which are roof frames. It gives enough strength, space, and stability to the roof of your building structure. Purlins also put the rafters together. It ensures that you easily construct a more expansive building with sturdy roof sheeting. It offers enough support to the roof and makes it highly resistant to heavy winds and different weather conditions. When you install purlins, you are assured that the building is strong, highly durable, and sturdy. It also makes the buildings well-insulated. It keeps the interior of your building cool during hot summers and warm during biting cold seasons.
Install Walls
When you are done setting up purlins, you can see the building taking a beautiful shape. It makes you feel like the home is almost ready. However, the most important phase is constructing walls. It also creates a moisture barrier.
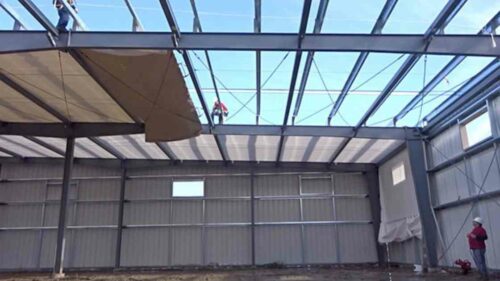
However, if you have a steel building kit, you get the wall panels to set up. You can go ahead and set up the walls. It is your choice to pick the wall colors. The walls make a significant impact on the aesthetics of your buildings.
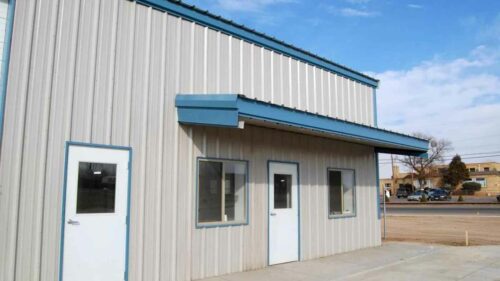
Fit the open areas and fix the roof to the home
The roof on the head is important. The last step is to fix the open areas and install the roof sheet to the building structure to complete the home or workshop. The openings can be spaces for doors and windows. The total number of doors and windows you would like to install depends on the structure you are constructing and how ventilated you want the building to be. You can then attach the roof to offer coverage to the building. The metal roofs are structurally sturdy, providing enough protection to the exterior and interior from various weather elements. The protective paper strip or double can be used to improve the look.
Get All Utility Connections
Once the door and windows are installed, it’s time to address the installation of lights, fans, ductwork, thermostats, and all other electrical and plumbing needs you require in your metal building. Do follow the local regulation code before ordering or installing the electrical equipment for metal building structures. Consult with our professionals or follow detailed guides to ensure proper and safe installation of utilities.
Finishing Touches
Once the cabling and plumbing work is completed, you can decorate it as per your liking for the finishing touch. Floating shelves, partitions, and a good music system are the most trending add-ons for metal buildings. We recommend exterior finishes or coatings to protect the metal building from corrosion or weather damage if you reside in topical areas.
Inspection and Compliance
After erecting the metal building, you need to schedule a metal building inspection with local authorities. Every county and state has their website from where you can schedule the inspection. The inspection mainly ensures the metal building you have built stays strong during harsh weather and has no loopy joints.
Maintenance and Care
Metal buildings are low-maintenance structures, but establishing a regular maintenance routine promptly addresses necessary repairs and cleaning roofs of the metal building as needed. Also, you can go through essential metal building maintenance tips.
Ways To Save Money On Metal Building Projects
For Metal building projects, the best way to save is by ordering a pre-engineered steel building kit. But even it can get expensive if you fail to understand its technicality. If you don’t have the skill, you should contact us for free installation services available in your area. The kit’s handy manual ensures proper assembly if you think you can handle the metal building construction process.
Many of our DIY clients have wasted money by not considering the following points. You can check them and learn from their mistake.
Do Your Research
You need to know how much space you exactly need—buying material for more space than what you need results in an increase in building expenses.
You should have a well-designed plan. This saves you time and money. If you make changes in design once you order material, it can also lead to wastage. Changing the order increases the project time and results in huge expenses.
Choose Affordable Options Available For Pre-Engineered Metal Buildings Smartly
There are many options available to customize the prefabricated metal building. The upgrades can be related to the gutter, downspout systems, mezzanine systems, overhangs, pipe fishing boots, roof and wall vents, skylights, wall lights, standing seam, and cool-coated roofing panels, and wainscoting. Choose rationally to keep control of the budget.
Plan For The Extension In The Future
The pre-fabricated buildings can be easily expanded in the future if you want to increase the home space. Constructing the building on a loft is good, so there is enough room for later expansion. You can reduce the building price by ordering a tall structure. The high ceiling also lets you add a mezzanine floor system.
If you are among first-time builders, you can always share your plans for constructing another storey. Our foundation engineer can suggest an order that supports an additional floor plan.
Keep The Communication Lines Clear
The excavator, architect, and foundation contractor coordinate to complete the construction process. You must ensure that all the building codes, plans, and scheduling are done appropriately. Ensure that your steel building meets the local code requirements.
Check The Bill For Lading Thoroughly
You need to ensure that you have the inventory of materials that you need for starting the construction work, especially the building kit. You have to check the list against the bill of lading. Ensure that all the frames have arrived and are not damaged to erect the building firmly so it can resist seismic conditions.
Have The Right Set of Tools And Equipment
You need specific tools and equipment to construct a prefab metal building with roof panels. Ensure you have the right equipment in place. It is good to rent equipment like clamp pliers and use them until the end of your steel building project.
It would be best if you had mastic sealer tape or double-sided tape and nail pins in the tools and equipment you get.
Conclusion
Metal building construction is simple when you have the right metal building accessories in place. The construction time of the new steel building is also minimum. The time it takes to construct and fix the parts is also less than constructing everything from scratch. It is cost-effective when compared to traditional building construction. It is also easy to calculate the total construction cost of a pre-engineered metal building per square foot.
You can also make the interior of your own metal building cozy and comfortable. If you plan to construct a metal building, get in touch with us right away. We are known manufacturers of sturdy metal buildings according to the client’s requirements and preferences.
Frequently Asked Questions
When 4 people work together to erect a 60×60 metal building kit, it may take a week to build the metal building. The actual timeline to build a metal building will depend on the size of the building, the workmen’s skillset, and weather conditions.
All our metal building kits come with a list of guided tools and equipment needed for the construction. Drills, wrenches, and ladders are standard tools to construct a metal building.
Our metal building kits allow some level of customization to fit your specific requirements. You can choose the color and style of doors, windows and roofs while ordering with us. However, consult with our representative to understand the customization options available.
Foundations are important for the robust and secure erection of metal buildings. Concrete slabs are the most commonly recommended foundation for metal building kits.
Yes, you need to adhere to your local codes and permits while constructing a metal building.
Take proper measurements before installing doors and windows. Proper alignment and weatherproofing allow you to tight-seal all the gaps against moisture and water.
To check the dimension and specifications of metal building, all the details are provided on the website, with the product catalouge.